
[Unboxing] Panini Case for NVIDIA® Jetson Orin Nano™ Super Developer Kit – Unboxing, Assembly Guide & OLED System Information Tutorial
Article by CaveDu Team
Original blog source : https://blog.cavedu.com/2025/12/22/orinnano_panini/
If you own an NVIDIA® Jetson Orin Nano™ Super Developer Kit, you’ve probably noticed that its exposed circuit board can feel a bit risky when it comes to carrying or deployment. Today, we’re unboxing the “Panini” dedicated enclosure from ROBOCO, which features tool-free installation, excellent thermal performance, and high expandability.
Panini Case Product Overview
Panini is a dedicated enclosure designed specifically for the NVIDIA Jetson Orin Nano / Orin Nano Super Developer Kit. It features a full metal construction with a modular design, making it suitable for both desktop use and VESA arm mounting.
Key Features
Custom-sized design fully compatible with the Jetson Orin Nano Super Developer Kit
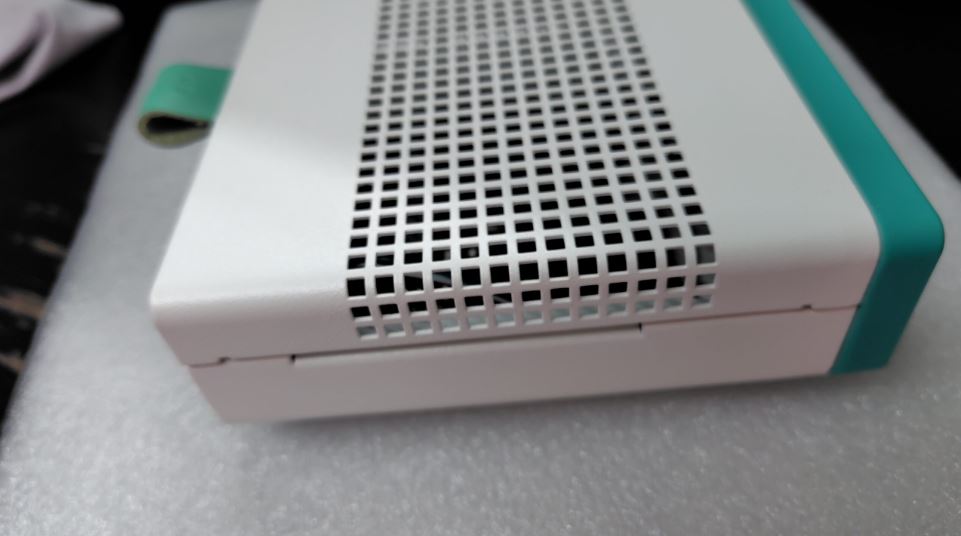
Metal enclosure for enhanced protection and stable thermal performance
Supports power button and reset button
Optional 0.96-inch I2C OLED display module (OLED version)
Supports M.2 SSD (2280) installation
Supports GPIO and CSI camera expansion
Can be placed on a desktop or mounted on a VESA 75 arm
Case Specifications
Materials: SPCC steel, ABS, acrylic, rubber
Dimensions: 130 × 125 × 43 mm
Weight: Approx. 400 g
Unboxing – Package Contents Overview
*You will need an original NVIDIA® Jetson Orin Nano™ Developer Kit to proceed.
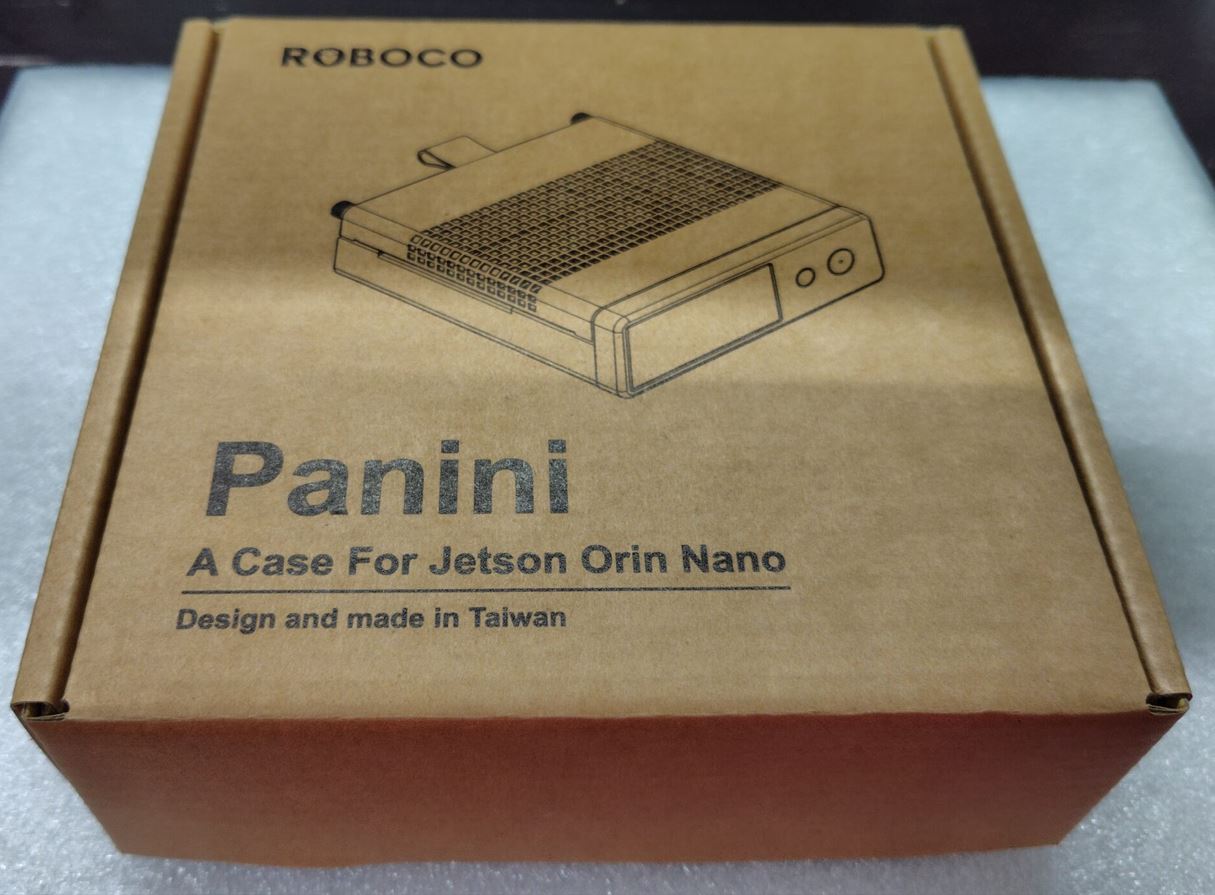
The exterior of the box is shown below. It features an image of the enclosure along with the name “Panini,” and the text “Design and Made in Taiwan” printed at the bottom.

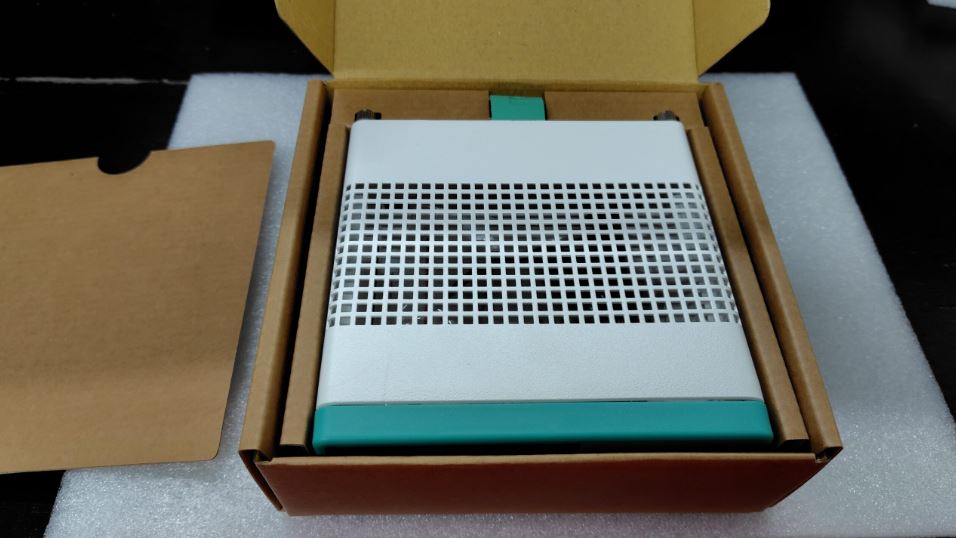
After opening the box, you’ll find the Panini enclosure itself along with the instruction manual. If you want to complete the assembly quickly, simply follow the manual to finish the setup and start using it right away.
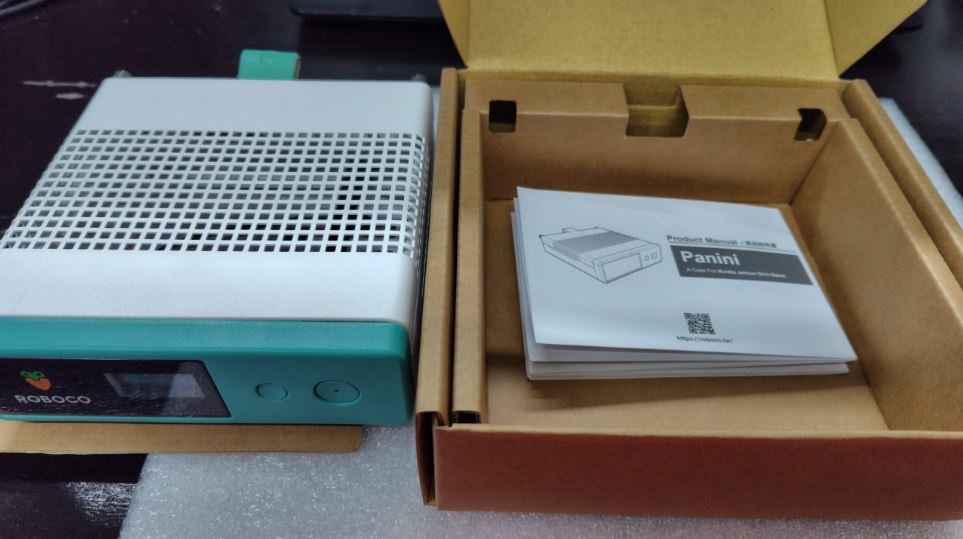
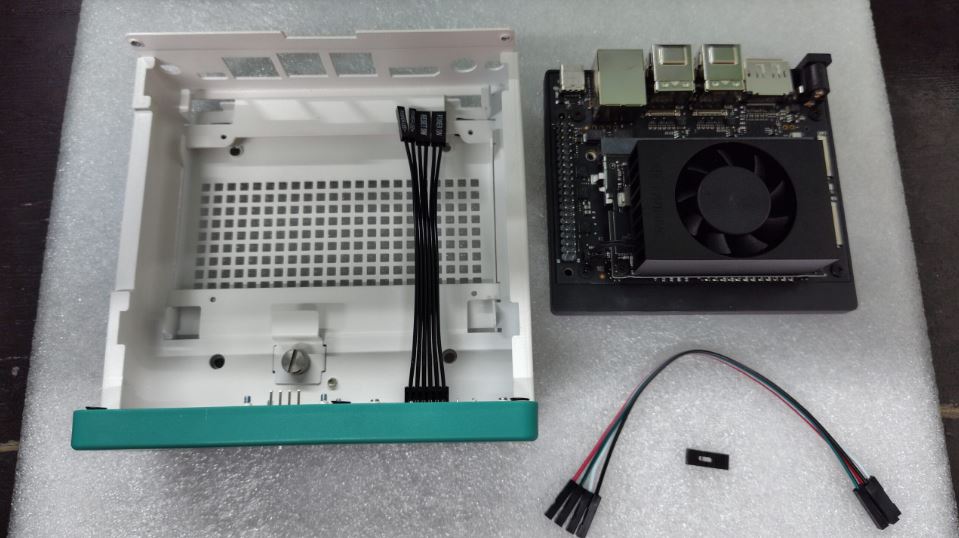
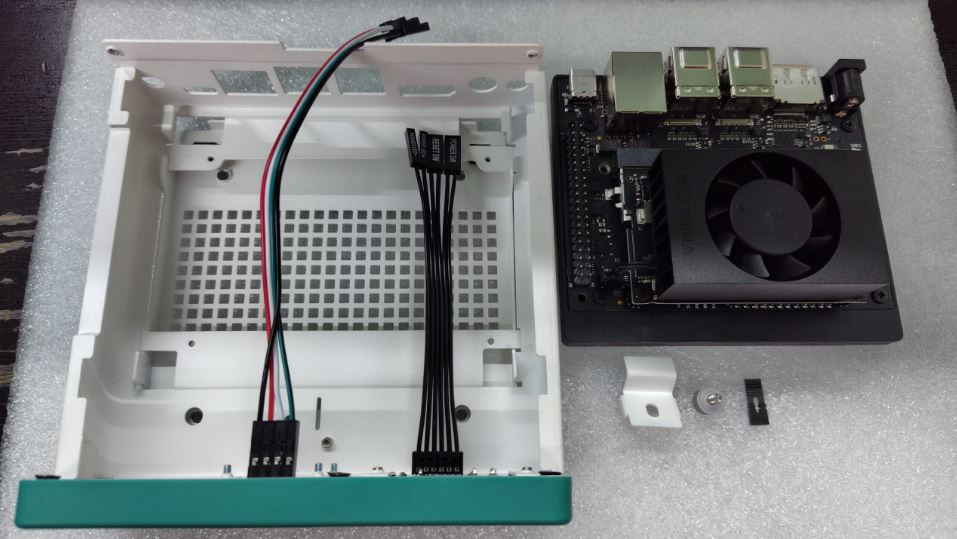
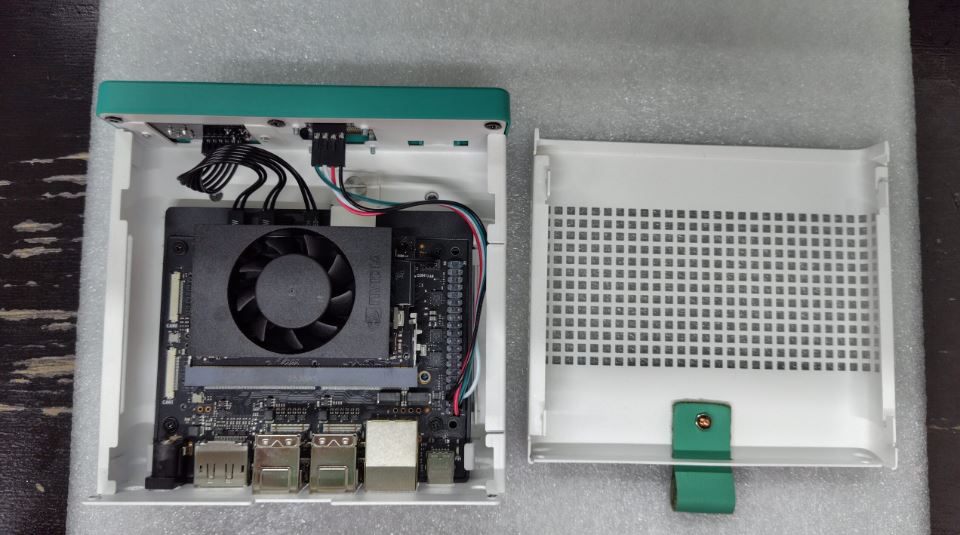
After unboxing, the Panini enclosure package includes the following components:
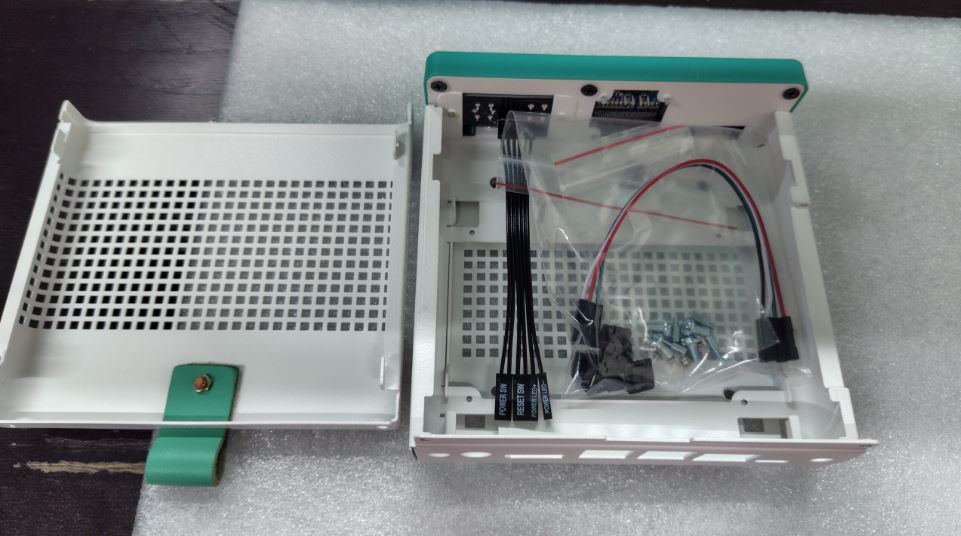
The Panini enclosure, the Jetson Orin Nano, and all the cables required for the following steps are placed together as shown.
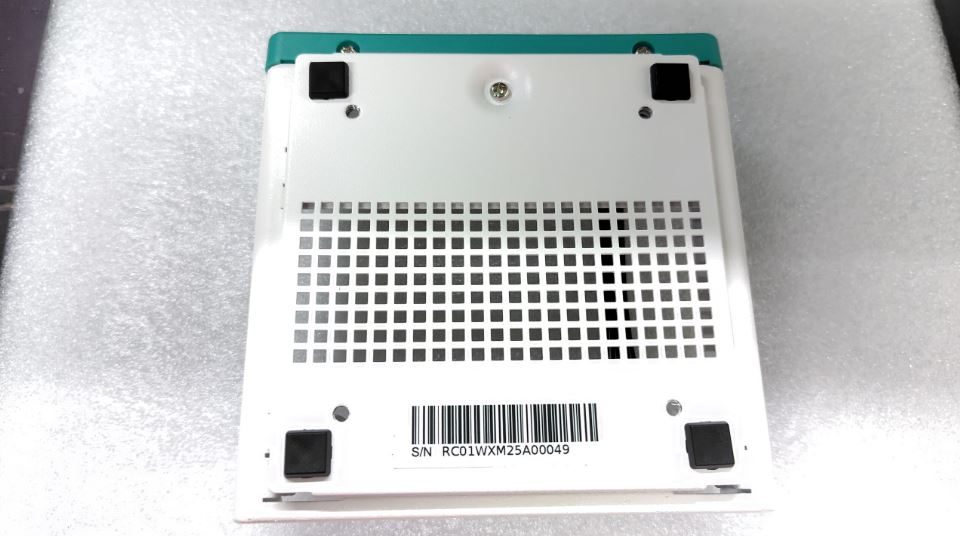
First, if you plan to use the case on a desktop, start by attaching the four rubber feet to the bottom to prevent the enclosure from scratching the surface.
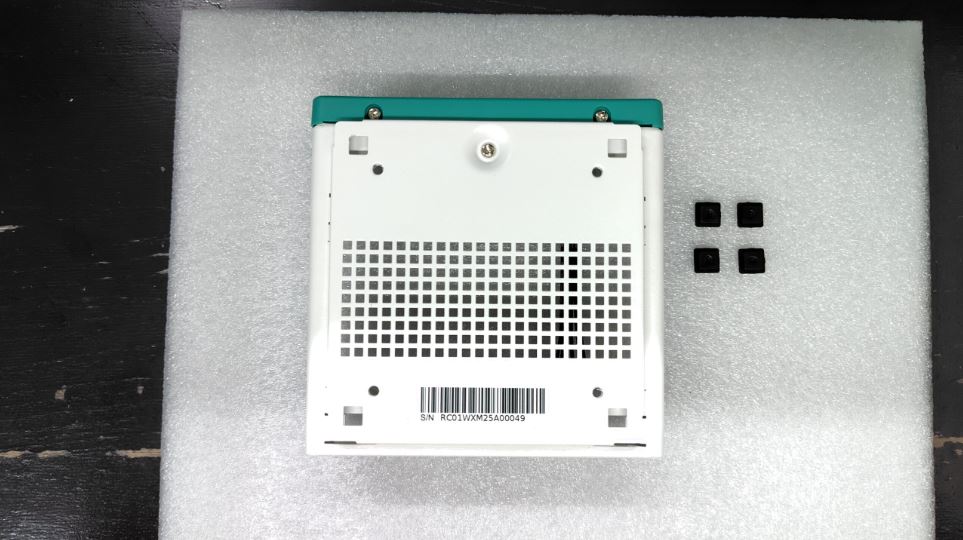
Simply press the four rubber feet into the corresponding holes to secure them in place.
Panini Case Assembly Guide
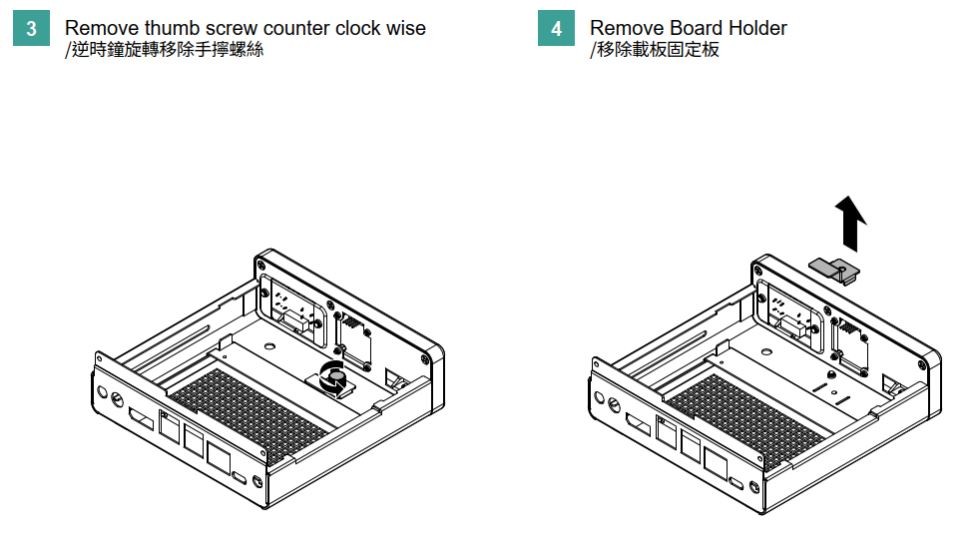
Step 1: Remove the Top Cover
Turn the thumbscrews counterclockwise.
Pull the handle upward in the direction of the arrow to lift off the top cover.
Step 2: Remove the Carrier Board Bracket
Turn the internal thumbscrews counterclockwise again.
Take out the carrier board bracket to prepare for installing the mainboard.
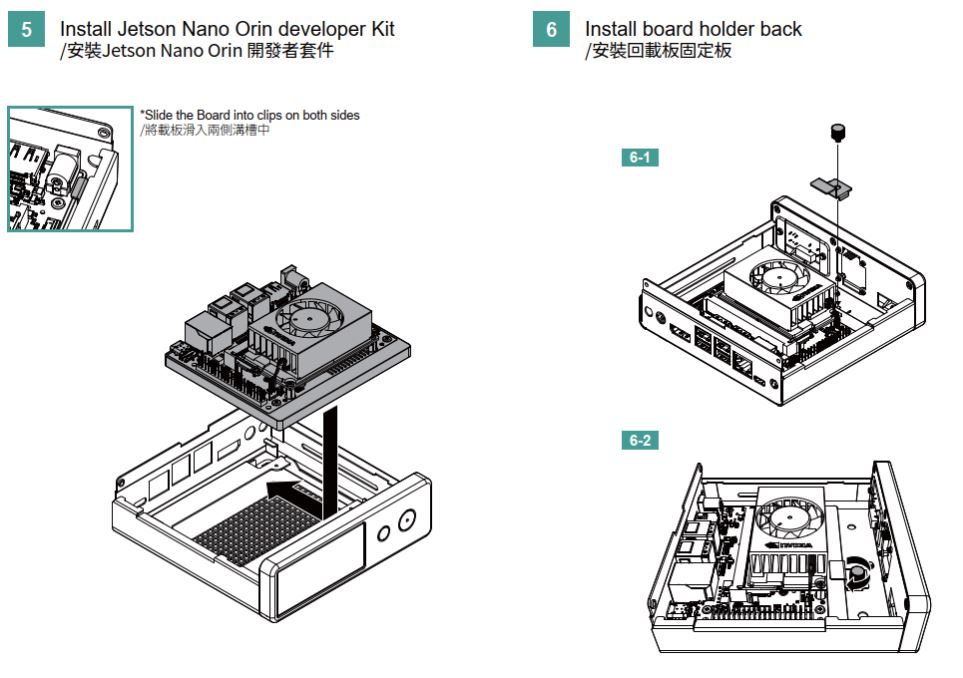
Step 3: Install the Jetson Orin Nano Super Mainboard
It is recommended to complete the connections for the front-panel cables and jumpers (Step 5) before installing the mainboard into the enclosure.
Since the system button headers underneath the carrier board will be partially blocked once the mainboard is in place, it can be difficult to clearly identify the pin labels. Therefore, follow this sequence:
Connect the Power Button, Reset Button, and related jumper cables to the system button headers on the underside of the Jetson Orin Nano carrier board.
Make sure all cables are oriented correctly and securely attached.
Align the Jetson Orin Nano Super with the internal sliding rails of the Panini enclosure.
Slide the mainboard parallel into the side rails of the case.
Verify that all I/O ports (USB, HDMI, LAN, DC-IN) are perfectly aligned with the corresponding openings on the enclosure.
Step 4: Reinstall the Carrier Board Bracket
Place the carrier board bracket back into its original position and tighten the screws to secure the mainboard firmly in place.
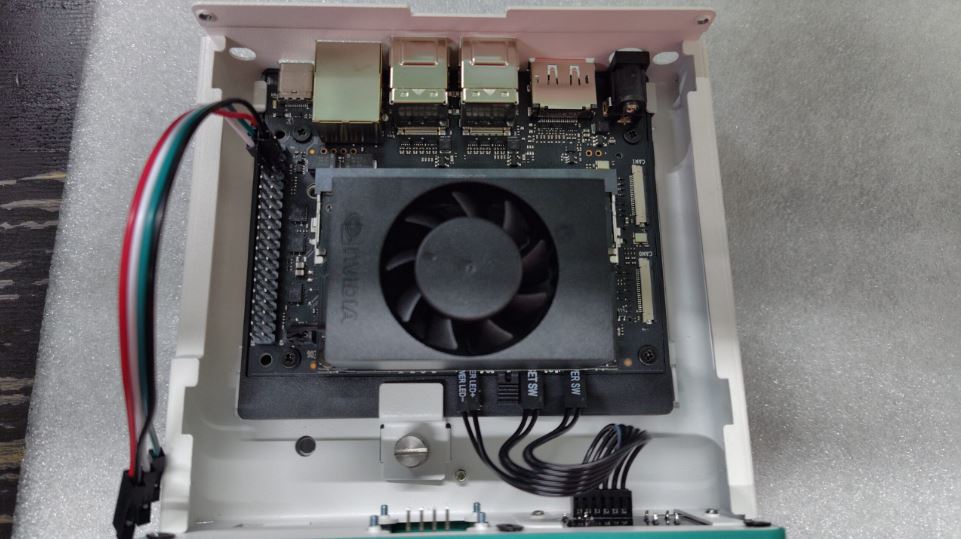
Step 5: Connect the Front Panel and OLED
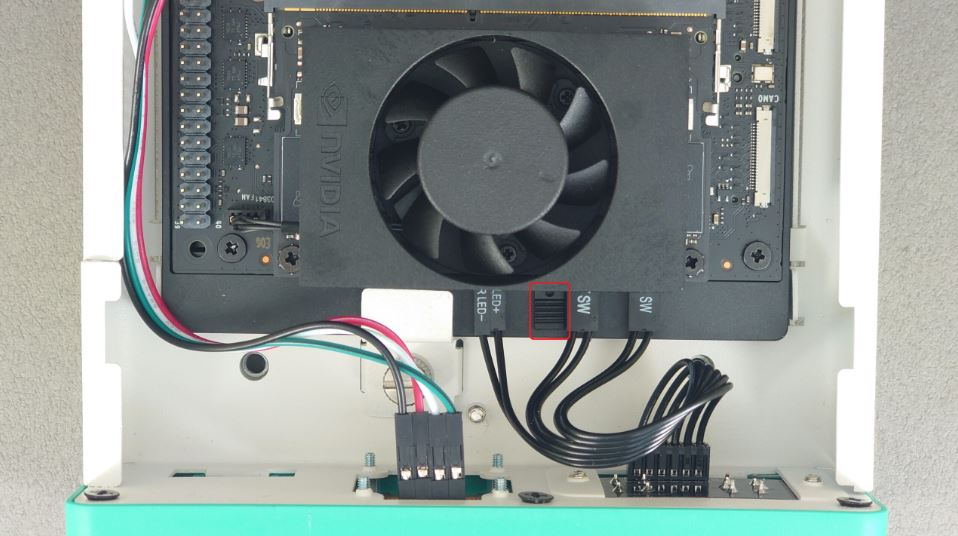
Attach the front panel cables (Power Button, Reset Button) to the corresponding headers on the Jetson Orin Nano carrier board.
Connect the 0.96-inch I2C OLED display module to its designated header.
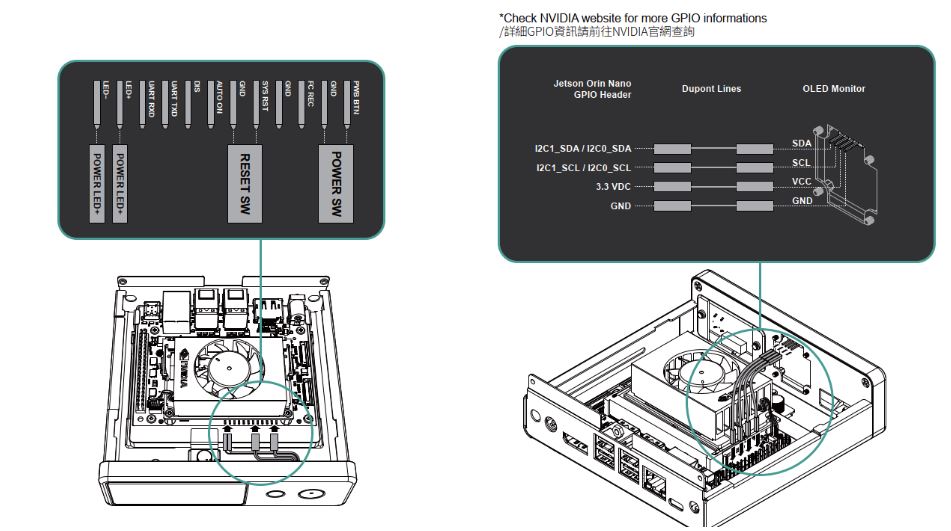
Following the illustration above, connect the Panini enclosure’s Power Button and Reset Button to the system button headers on the underside of the Jetson Orin Nano carrier board.
For the OLED version, connect the included 0.96-inch I2C OLED display module to the Jetson Orin Nano’s I2C pins, including VCC, GND, SDA, and SCL. Pin definitions for GPIO and I2C can be found in the official NVIDIA documentation.
*Important: In addition to the Power and Reset button connections, make sure to connect the jumper to the “AUTO ON DIS” header (shown in the red box in the figure). Otherwise, the system will follow the default behavior and automatically power on when connected to a power source, preventing the front panel Power Button from controlling the boot process correctly.
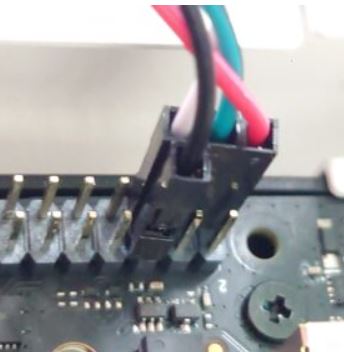
Actual Wiring photo: OLED to Orin Nano GPIO
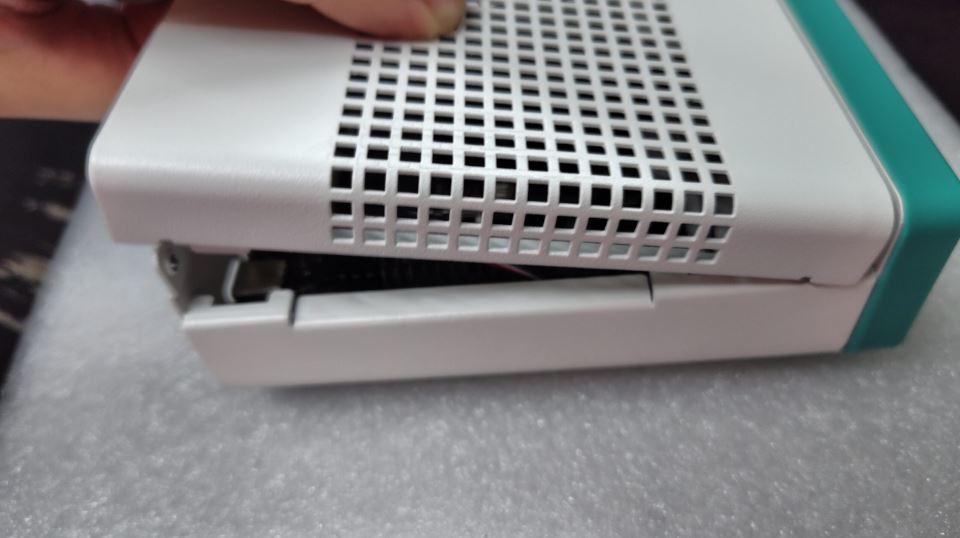
Step 6: Reattach the Top Cover and Secure
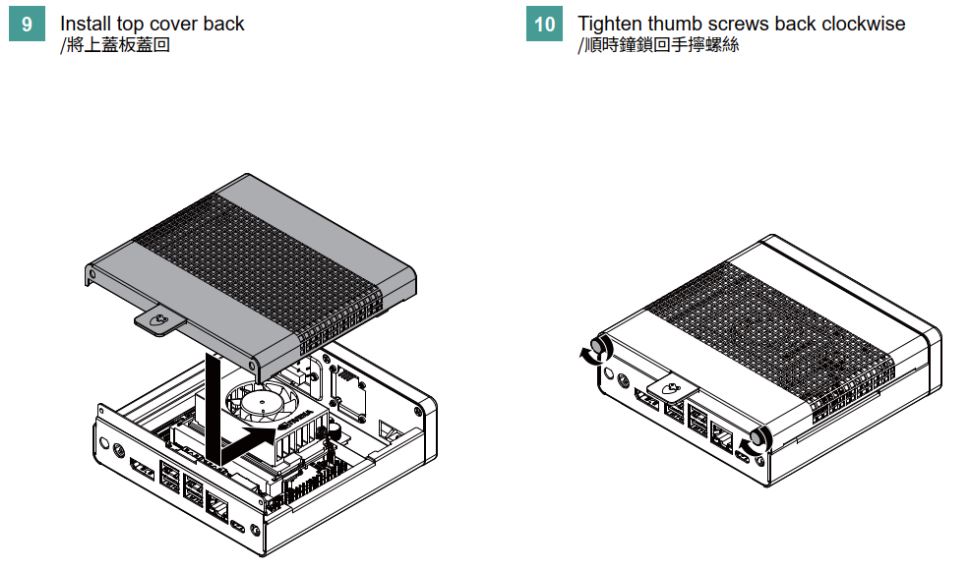
Make sure no cables are pinched or compressed.
Place the top cover back onto the enclosure.
Turn the thumbscrews clockwise to secure the cover in place.
Desktop Mode
Attach the included rubber feet to the bottom of the enclosure.
Provides stable anti-slip support and sufficient airflow for desktop cooling.
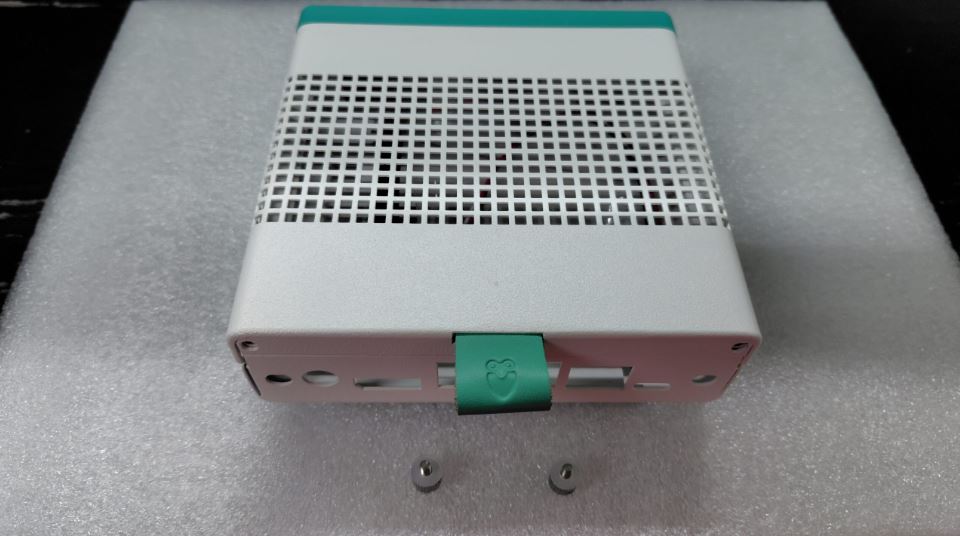
Arm Mount Mode (VESA 75)
Use M3 screws to secure the Panini enclosure to a VESA 75-compatible monitor arm.
Note: The monitor arm must be prepared separately.
Advanced and Optional Installation
GPIO and CSI Camera Installation:
Install 40-pin GPIO cables as needed.
Supports CSI camera modules (official or compatible cameras).
Post-Assembly Checklist
Ensure the mainboard is securely mounted and does not wobble.
Verify that all I/O ports are fully accessible and function correctly.
Confirm the Power and Reset buttons operate properly.
Check that the OLED display functions correctly (if installed).
Make sure fans and other cooling components are free from obstruction or interference.
Recommended Usage and Applications
The Panini enclosure is particularly suited for the following scenarios:
AI / IoT education and hands-on courses
Jetson Orin Nano Super project demo units
Long-running edge computing systems
Teaching scenarios using the OLED display for IP and system status monitoring
The metal enclosure provides superior stability, durability, and professional appearance compared to a bare board or acrylic case.
Conclusion
With the Panini dedicated enclosure, the Jetson Orin Nano™ Super Developer Kit not only looks more professional but also gains significant improvements in deployment, protection, and expandability.
