NVIDIA Certification Program registration walkthrough
Article by CaveDu Team

Original blog source : https://blog.cavedu.com/2025/12/26/nvidia-certification-program-registration/
***This walkthrough is written based in Taiwan region, other regions details may vary.
This article explains the process of registering for the NVIDIA-Certified Associate: Generative AI LLMs certification exam. The process is divided into two parts: online proctoring system testing and confirming the exam date and payment page. Please follow the steps below.
Online Proctoring System Test
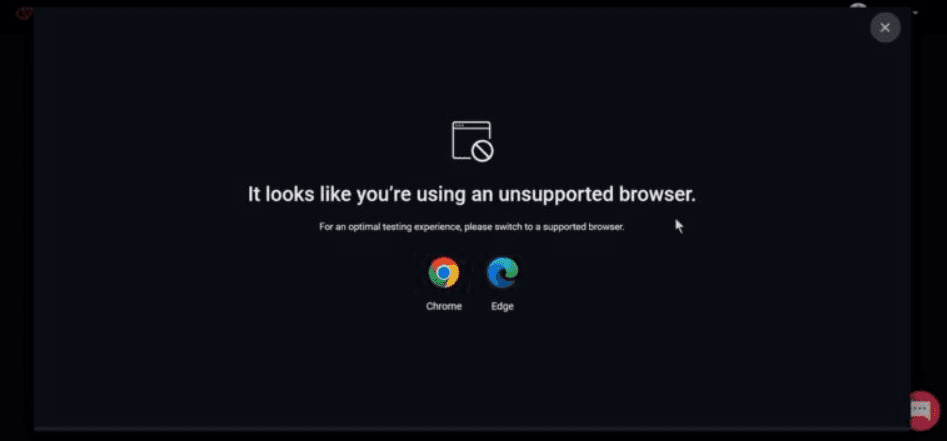
[Note] Please use Google Chrome or Microsoft Edge throughout the registration process. Other browsers are not supported.
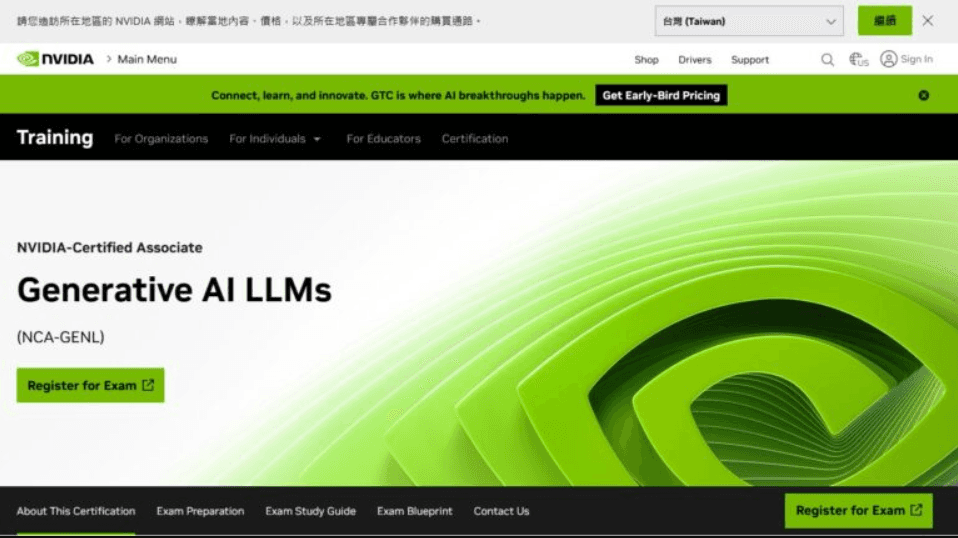
Go to the NVIDIA official certification page and find the NVIDIA-Certified Associate: Generative AI LLMs certification exam.
link : https://www.nvidia.com/en-us/learn/certification/generative-ai-llm-associate/
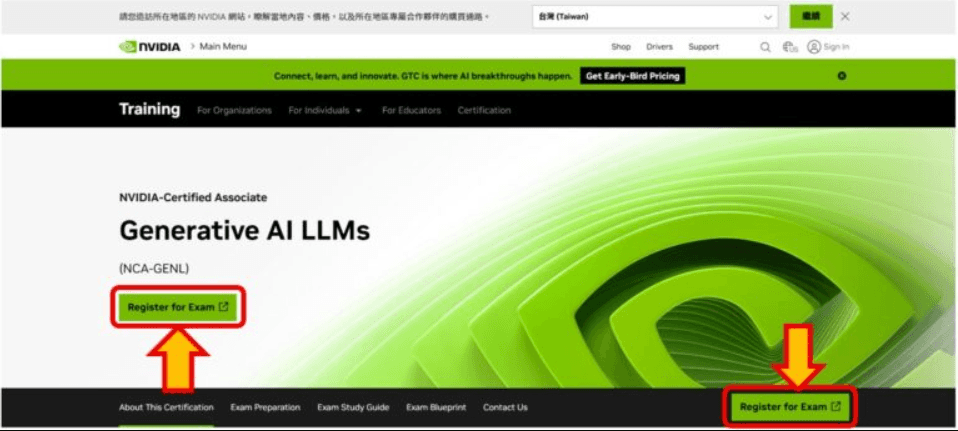
Click the “Register for Exam” button (either of the two buttons shown below works) to begin the registration process.
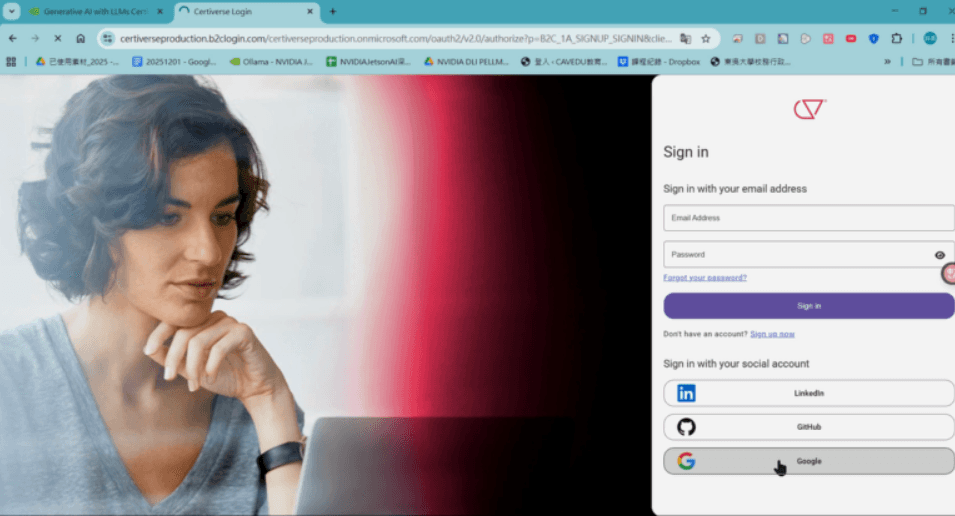
You will then be redirected to the online proctoring website Certiverse to log in.
Candidates can log in using LinkedIn, GitHub, or Google accounts. The author logged in using a Google account.
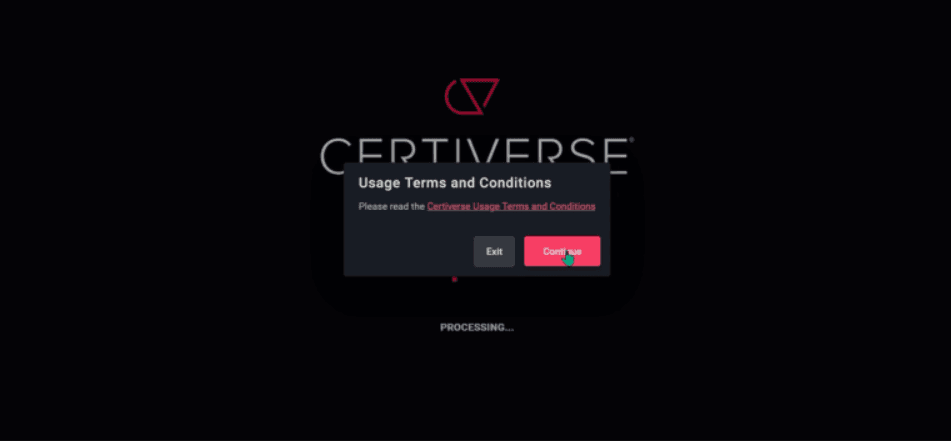
When the terms of service confirmation appears, click the red “Continue” button.
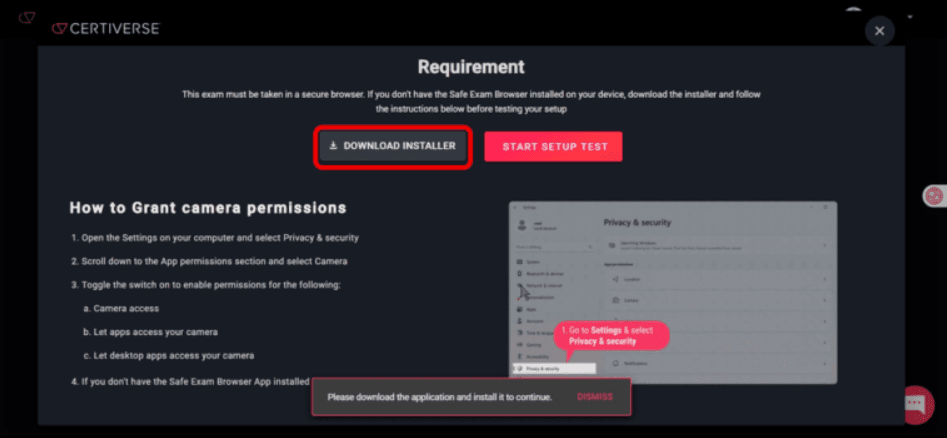
To verify that your computer can support an online proctored exam, you must first complete a system compatibility check.
Click the red button “LAUNCH SYSTEM COMPATIBILITY CHECK.”

Download the Safe Exam Browser (SEB) by clicking the black “DOWNLOAD INSTALLER” button.
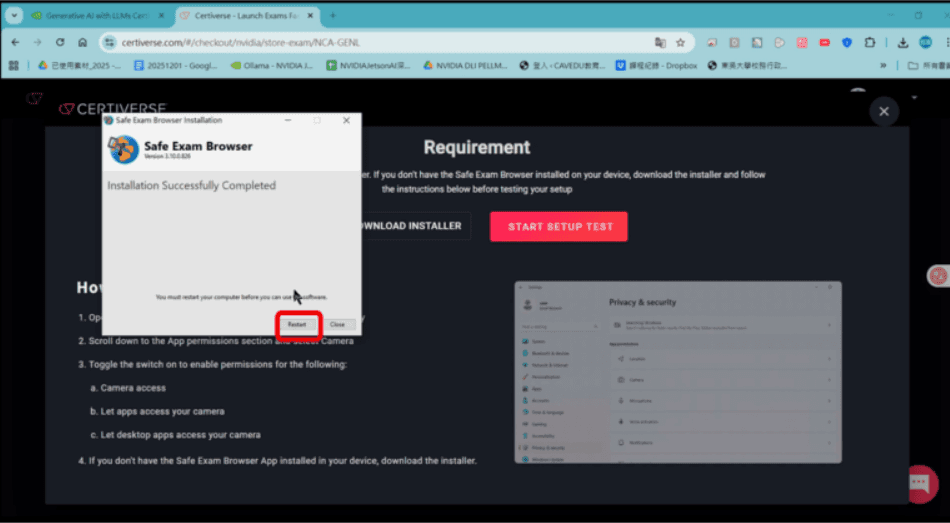
Install the Safe Exam Browser (SEB).

After installation is complete, you must restart your computer. Click “Restart.”
For the online proctoring system test, you must log in again. Please refer to Steps 1–5.
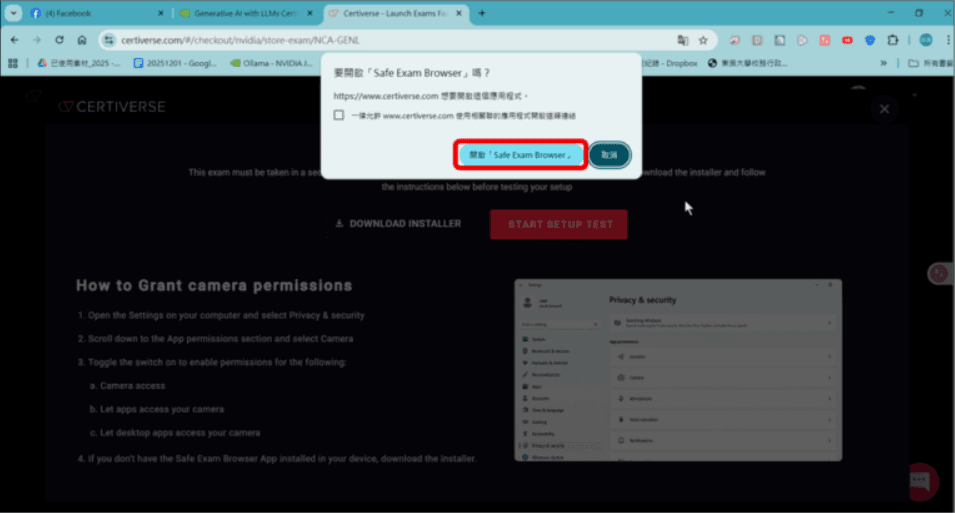
When you click “LAUNCH SYSTEM COMPATIBILITY CHECK,” the browser will prompt whether to open Safe Exam Browser. Please click Open Safe Exam Browser.
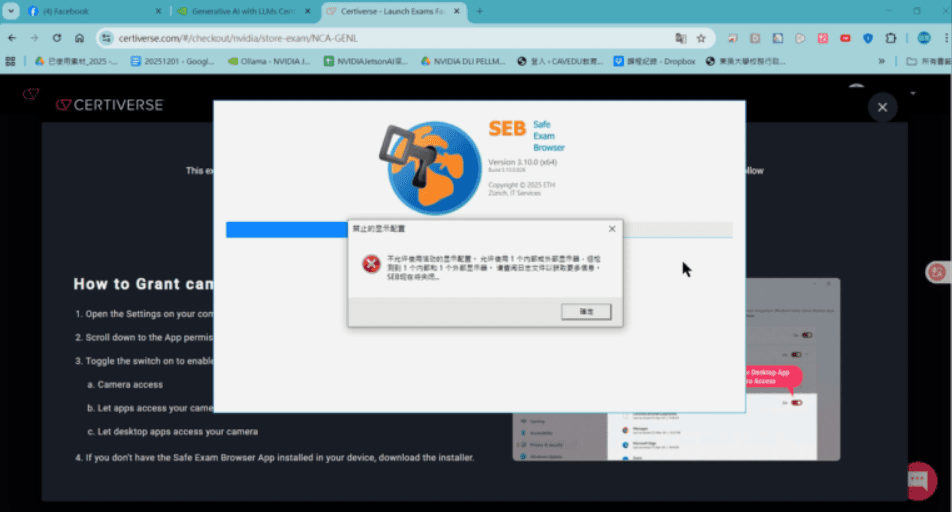
SEB Verification

[Note] A message about restricted display configuration may appear. This is to prevent cheating by blocking screen recording or screenshot programs.
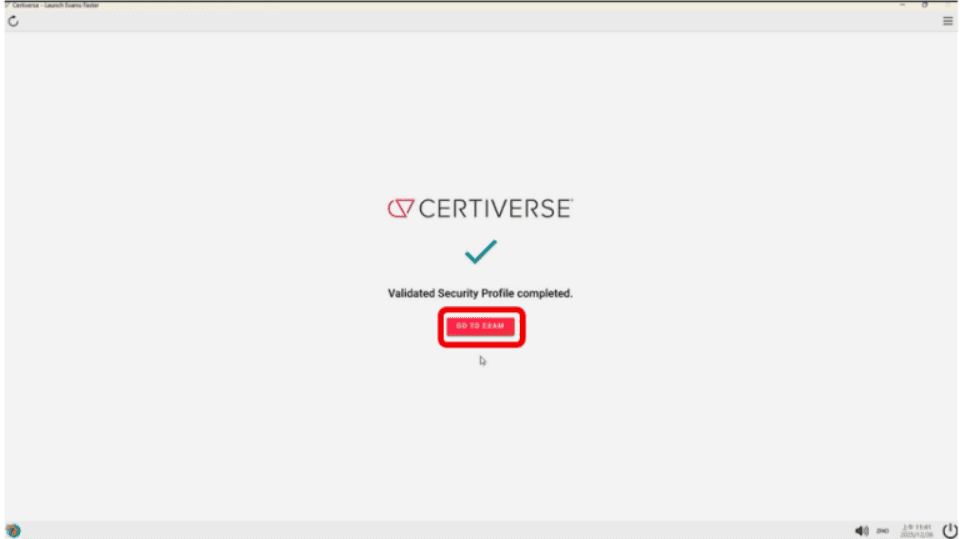
After the webpage redirects, it will display “Validated Security Profile completed.” Click the red “GO TO EXAM” button.
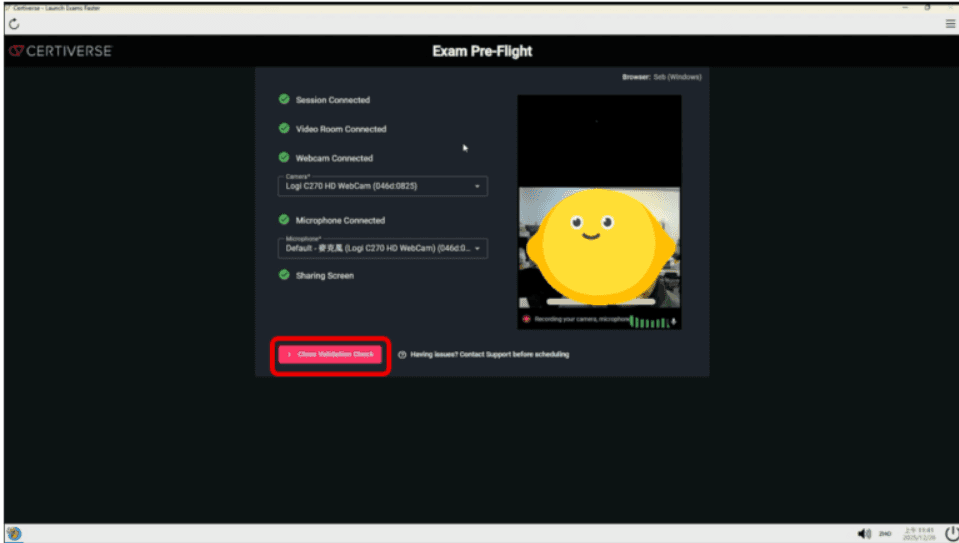
The following proctoring requirements must all pass:
✅ Successfully connected to the exam system
✅ Proctoring video room created
✅ Camera is working properly
✅ Microphone is functioning
✅ Screen sharing successful
After all checks pass, click the red “Close Validation Check” button.
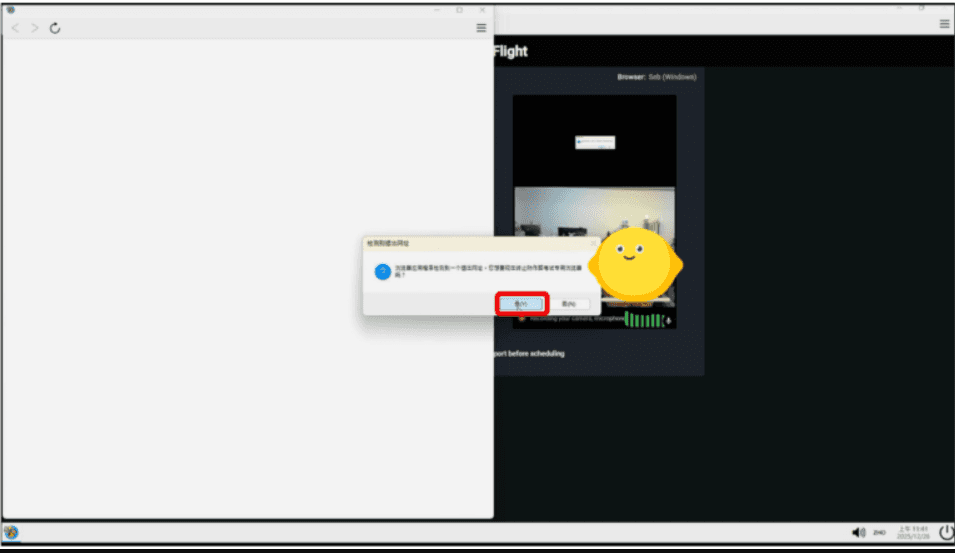
A prompt asking whether to exit the page will appear. Click “Yes.” This likely occurs because the process is only a test and not the actual exam.
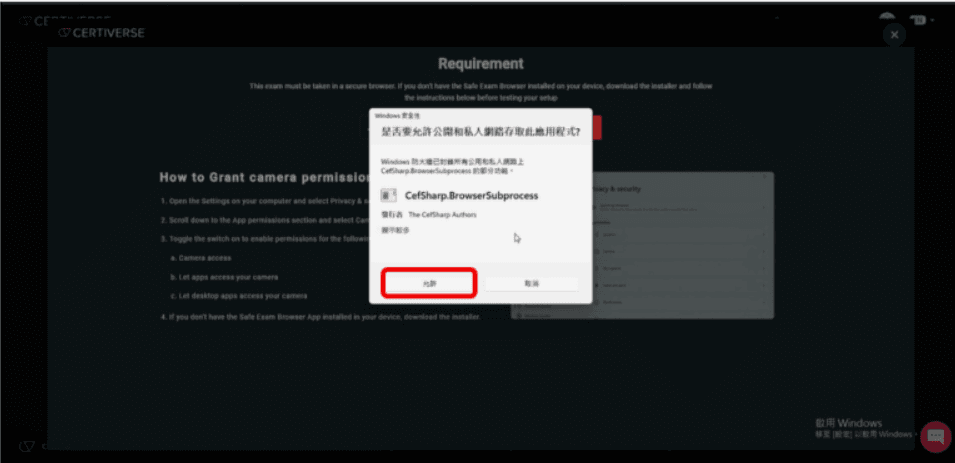
A Windows Security prompt will appear. Click “Allow.”
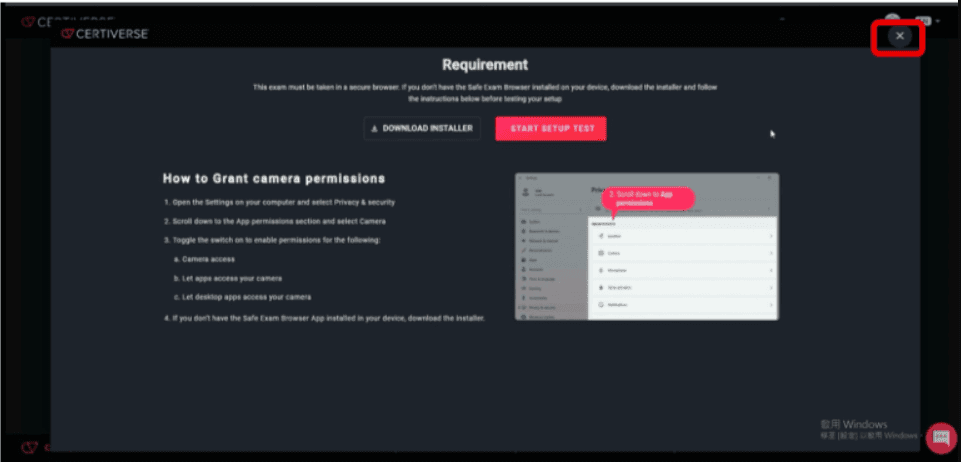
After returning to the Requirement page, click the “X” in the top-right corner.
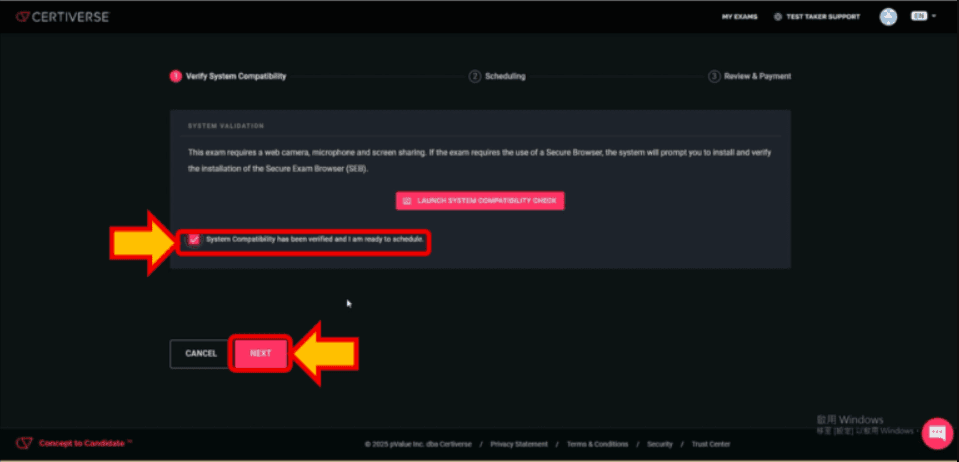
Check the box “System Compatibility has been verified and I am ready to schedule.” Then click “NEXT.”
Confirming the Exam Date
Next, you will proceed to the exam scheduling page. Please continue following the steps below.
Field Settings
a. Select the language “Simplified Chinese.”
b. The Country/Region field will automatically be filled as “TAIWAN.”
c. Fill in the Company/Partner/University field as appropriate.
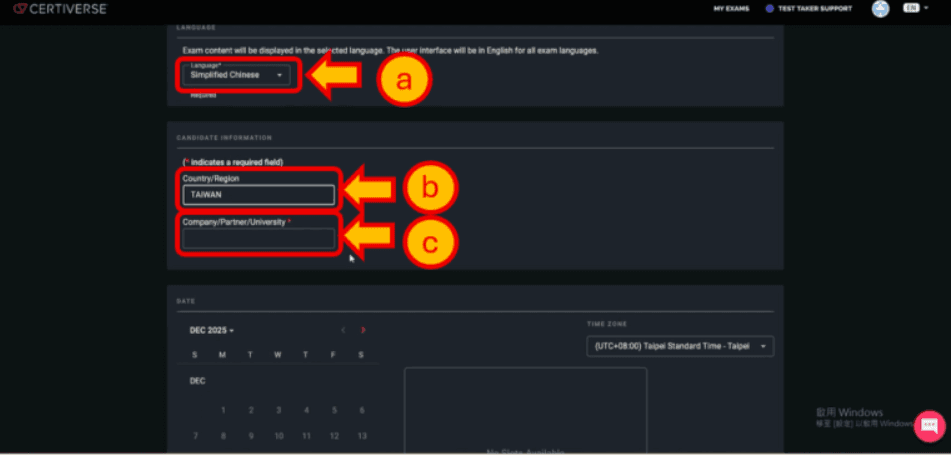
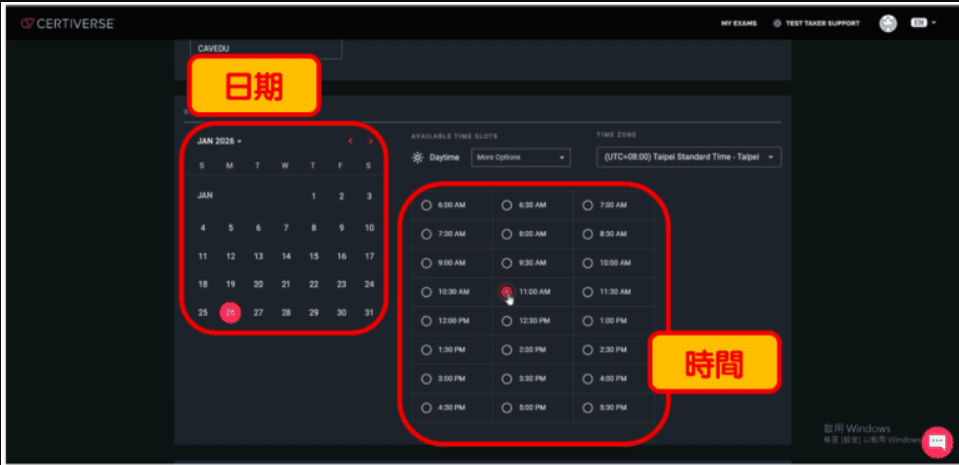
d. Select the exam date and time. Choose the date first, then the time. Confirm that the TIME ZONE is (UTC+8:00) Taipei Standard Time – Taipei.
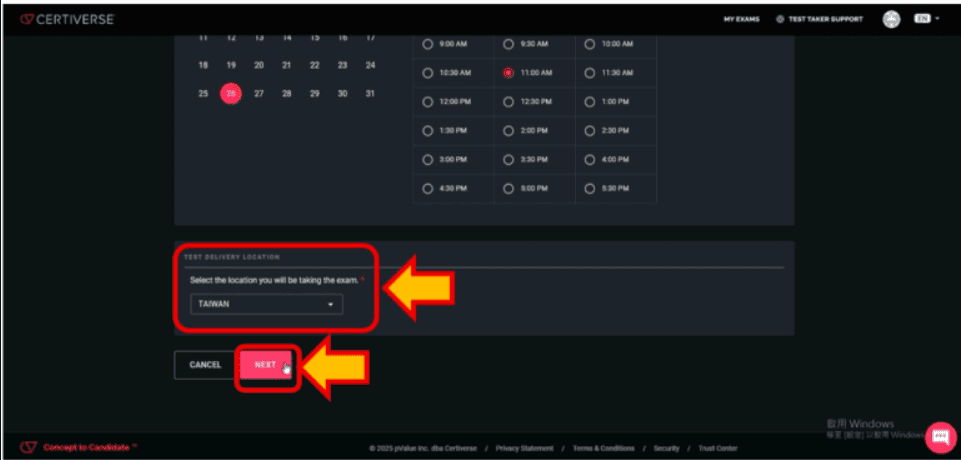
e. Confirm that the exam location is “TAIWAN.” Then click “NEXT.”
Payment Page
Now comes the key step.
Only credit cards or debit cards are accepted for payment.
You will then see the payment page showing $125 USD. Enter your card details and complete the payment.
[Note] Due to exchange rate fluctuations, the final price may vary.
[Note] If the exam fee is paid by your company, you can check “I am purchasing on behalf of a company.”
Enter your company name, and in the 12345678 field, input your company tax ID number.
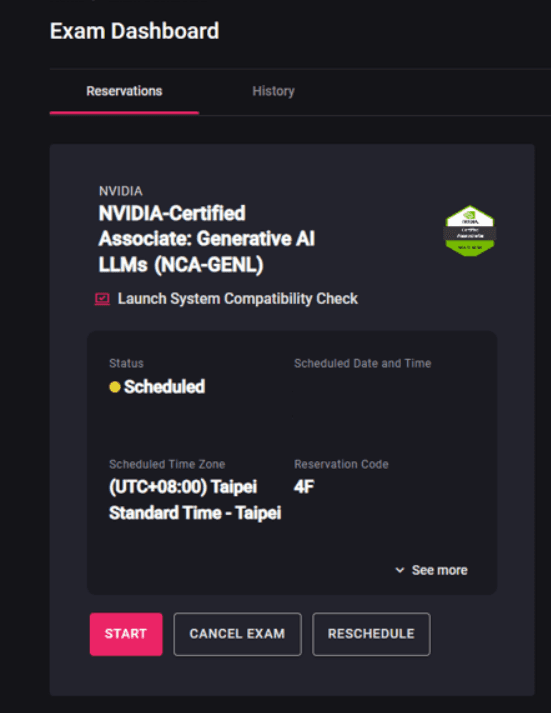
Once registration and exam scheduling are completed, the exam will appear on your Exam Dashboard, indicating that the registration was successful.